Product Description
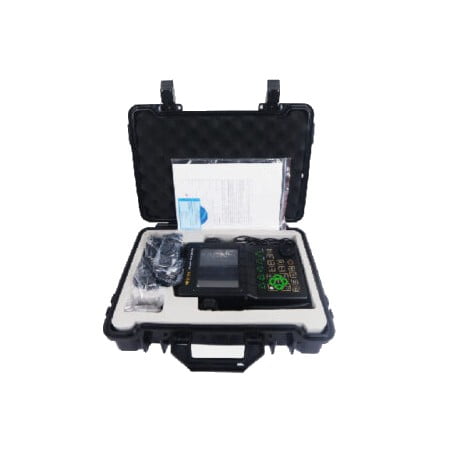
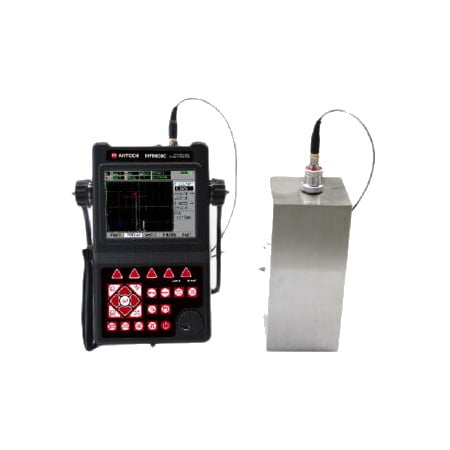
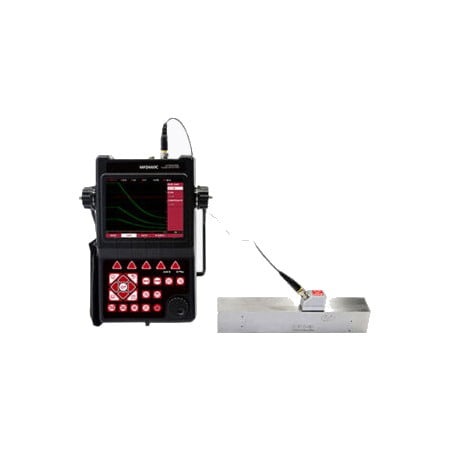
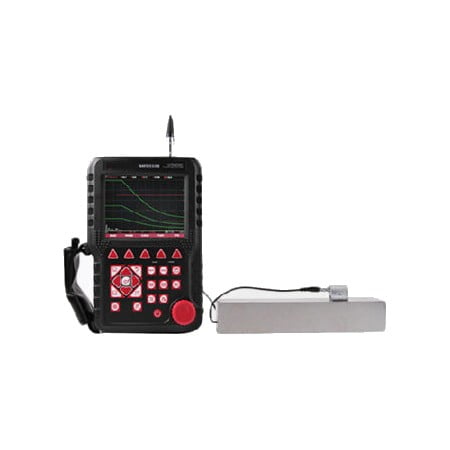
MITECH MFD620C Flaw Detector
The MITECH MFD620C Flaw Detector has the function of waterproof, oil proof, dustproof can reach IP65 protection level.It is a professional precision instrument needed for flaw detection, quality control, on-line safety monitoring and life evaluation in the fields of oil, chemical, metallurgy, shipbuilding, aviation, railway and so on.
The MITECH MFD620C Flaw Detector is an advanced digital ultrasonic flaw detector featuring a multi-color TFT LCD and a number of new features to meet challenging inspection requirements. It combines powerful flaw detection and measurement capabilities, extensive data storage, and the ability to transfer detailed inspection data to a PC via a high-speed USB port.
This instrument incorporates many advanced signal processing features including a 15MHz RF bandwidth to allow testing of thin materials, a narrowband filter to enhance signal to sound in high gain applications, a spike pulser for applications requiring higher frequencies, and an adjustable square wave pulser to optimize penetration. . on thick or very debilitating materials.
Features MITECH MFD620C Flaw Detector :
- Receiver, sampling: 10 digit AD Converter at 160 MHz sampling rate. Rectification: Positive Halfwave, Negative Halfwave, Fullwave and RF. Analog Bandwidth: 0.5MHz to 10MHz capability with selectable frequency range (automatically set by instrument) to match probes for optimal performance. Gain: 0 dB to 110 dB adjustable in selectable steps 0.1 dB, 1.0dB, 2 dB, 6 dB and locked.
- Gates, two completely independent gates offer various measurement options for signal height or distance using peak triggering. The echo-to-echo mode allows for accurate gate positioning for signals that are very close together. Gate Start: Variable across displayed range Gate Width: Varies from Gate Start to end of range displayed Gate Height: Varies from 0 to 99% Full Screen Height. Alarm: Positive/negative threshold.
- Memory, Memory 50 channel files for storing calibration settings. Memory of 1000 wave files for storing A-Scan patterns and instrument settings. All files can be saved, recalled, and deleted.
- Video Recorder, screen scenes can be captured as movie files. For 2 hours movies can be stored in memory. It can be played back using the instrument or the PC software that shipped with the instrument. Video Recorder is useful in many situations, very convenient for those who want to analyze their probing activities later.
- Real Time Clock, instrument clock keeps track of time.
- Communication, High speed USB2.0 port. Two USB modes can be selected: U-DISK and U-BRIDGE. In U-DISK mode, the instrument acts as a USB flash drive when connected to a PC. Configuration files, saved images and recorded movies can be copied to a PC whenever possible. In U-BRIDGE mode, the instrument exchanges data with the DataPro Software. Optional DataPro software helps manage and format stored inspection data for high-speed transfer to a PC. Data can be printed or easily copied and pasted into word processing files and spreadsheets for further reporting needs. New features include live screen capture mode and database tracking.
Specifications MITECH MFD620C Flaw Detector :
| Display Resolution | (320×240 pixels) multi-color TFT LCD |
| Blind Area | 5MM |
| Flaw Sizing | Automatic flaw sizing using AVG/AVG or DAC, speeds reporting of defect acceptance or rejection |
| Weld Figure Feature | Weld Figure feature can be enabled when detecting the weld parts using angle transducer |
| Auto-Calibration | Automated calibration of transducer zero offset and/or material velocity |
| Memory | be able to store, recall the A-Scan patterns and instrument settings |
| Flaw Locating | Live display Sound-path, Projection (surface distance), Depth, Amplitude |
| Defect Quantification | directly display the result with db unit |
| Defect characterization | calculate the equivalent size of the flaw easily and quickly to facilitate the judgment of artificia |
| Curved Surface Correction | used to measure the surface distance and depth of defect on a curved surface |
| DAC/AVG | Y |
| AWS D1.1 | one of the AWS(American Welding Society) standards |
| Crack Height Measuring | measure and display the height of a crack found inside the workpiece |
| Magnify Gate | spreading of the gate range over the entire screen width |
| Video Recording | more than 2 hours |
| A Scan Freeze | Display freeze holds waveform and sound path data |
| Coded Echo Color | locate the flaw position |
| B-Scan | display a graphical cross-section of the workpiece |
| Power-Saving Method | low power consumption |
| Protection Level | IP54 |
| Communication Interface | High Speed USB2.0 port |
| DataPro Software | Y |
| Working Language | freely switch between Chinese and English |
| Total Weight | 6.0KG |
| Measuring Range | (0 ~ 6000) mm in steel |
| Bandwidth | 0.5 to 10MHz automatic matching according to the probe frequency |
| Material Velocity | (1000~ 15000) m / s |
| Dynamic Range | ≥ 36dB |
| Vertical Linear Deviation | ≤ 3% |
| Horizontal Linear Deviation | ≤ 0.2% |
| Resolution | > 40dB (5P14) |
| Sensitivity Leavings | 60dB (flat-bottomed deep hole 200mmФ2) |
| Rejection | (0 to 80)% Linear without affecting the linearity and gain |
| Noise Level | ≤ 10% |
| Probe Type | straight beam probe, angle beam probe, dual element probe, through-transmit probe |
| Gates | Wave-getting Gate, Wave-losing Gate, Single Gate Reading, Dual Gate |
| Alarm | Beep Alarm and LED light Alarm |
| Power Supply | DC 9V |
| Working Time | >8 hours |
| Overall Dimensions | 280 × 220 × 70(mm) |
| Operating Temperature | (-10 ~ 50) ℃ |
| Relative Humidity | (20 ~ 95)% RH |
| Pulse Energy | 200V, 300V, 400V, 500V ,600V selectable, suitable for various probe |
| Pulse Width | (0.1~0.5)µs range with continuous adjustment to match the different frequency probes |
| Probe Damping | 100Ω、200Ω、400Ω selectable to meet different requirements for resolution and sensitivity |
| Sampling | 10 digits AD Converter at the sampling speed of 160MHz, waveform of highly fidelity |
| Rectification | Positive half wave, negative half wave, full wave, RF |
| Gate Reading | optional for single gate and double gate reading mode, both peak and edge can trigger it |
| Gain | 0 dB to 110 dB adjustable in selectable steps 0.1 dB, 1 dB, 2dB and 6dB |
| Transducer Connections | BNC or LEMO |
 MITECH MFD620C – Datasheet
Produk asli Kami distributor langsung Mitech. Harga murah dan berkualitas bergaransi tentunya. dapat di kirim ke seluruh wilayah indonesia.

